
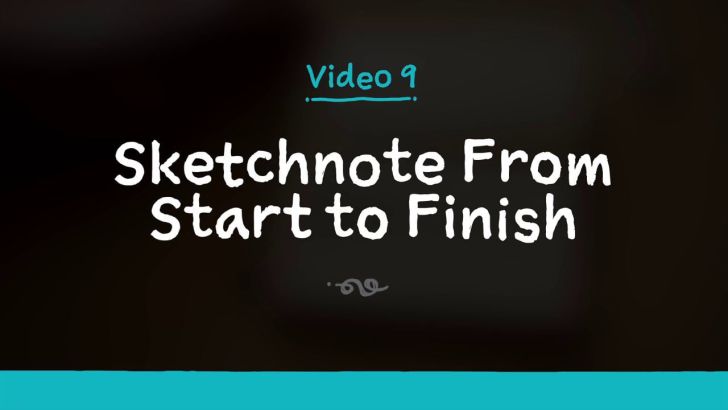

How I Made It: The Sketchnote Handbook Video - Sketchnote from Start to Finish
Here's how a small team helped me create a start-to-finish sketchnote video for The Sketchnote Handbook and the lessons I learned along the way.

Twelve years ago, I was waist-deep in creating and producing The Sketchnote Handbook and its video companion. Today, I want to share how we made my favorite video from the book and what I learned from the process.
Here’s the video demonstrating the creation of a sketchnote from start to finish:
Now for the backstory…
Creating The Sketchnote Handbook
In 2012, I landed a book deal with Peachpit to create a how-to book on sketchnoting called The Sketchnote Handbook.
Looking back, it was crazy that I agreed to write, design, illustrate, and layout a book and create a companion video in just nine months. But I worked hard to make it happen with the help of an experienced team of talented friends.
I knew how to create books—having been an art director and print production designer in the past—and from illustrating REWORK. I was clueless about videos.
However, I had a secret weapon. I knew Brian Artka, a friend who is fantastic at telling stories with video. He was available, so I got Peachpit to hire him for the project.
Producing a comprehensive book with illustrations and shooting videos would be challenging. Book chapters were not 100% complete, but we had to move ahead and shoot videos to meet the deadline.
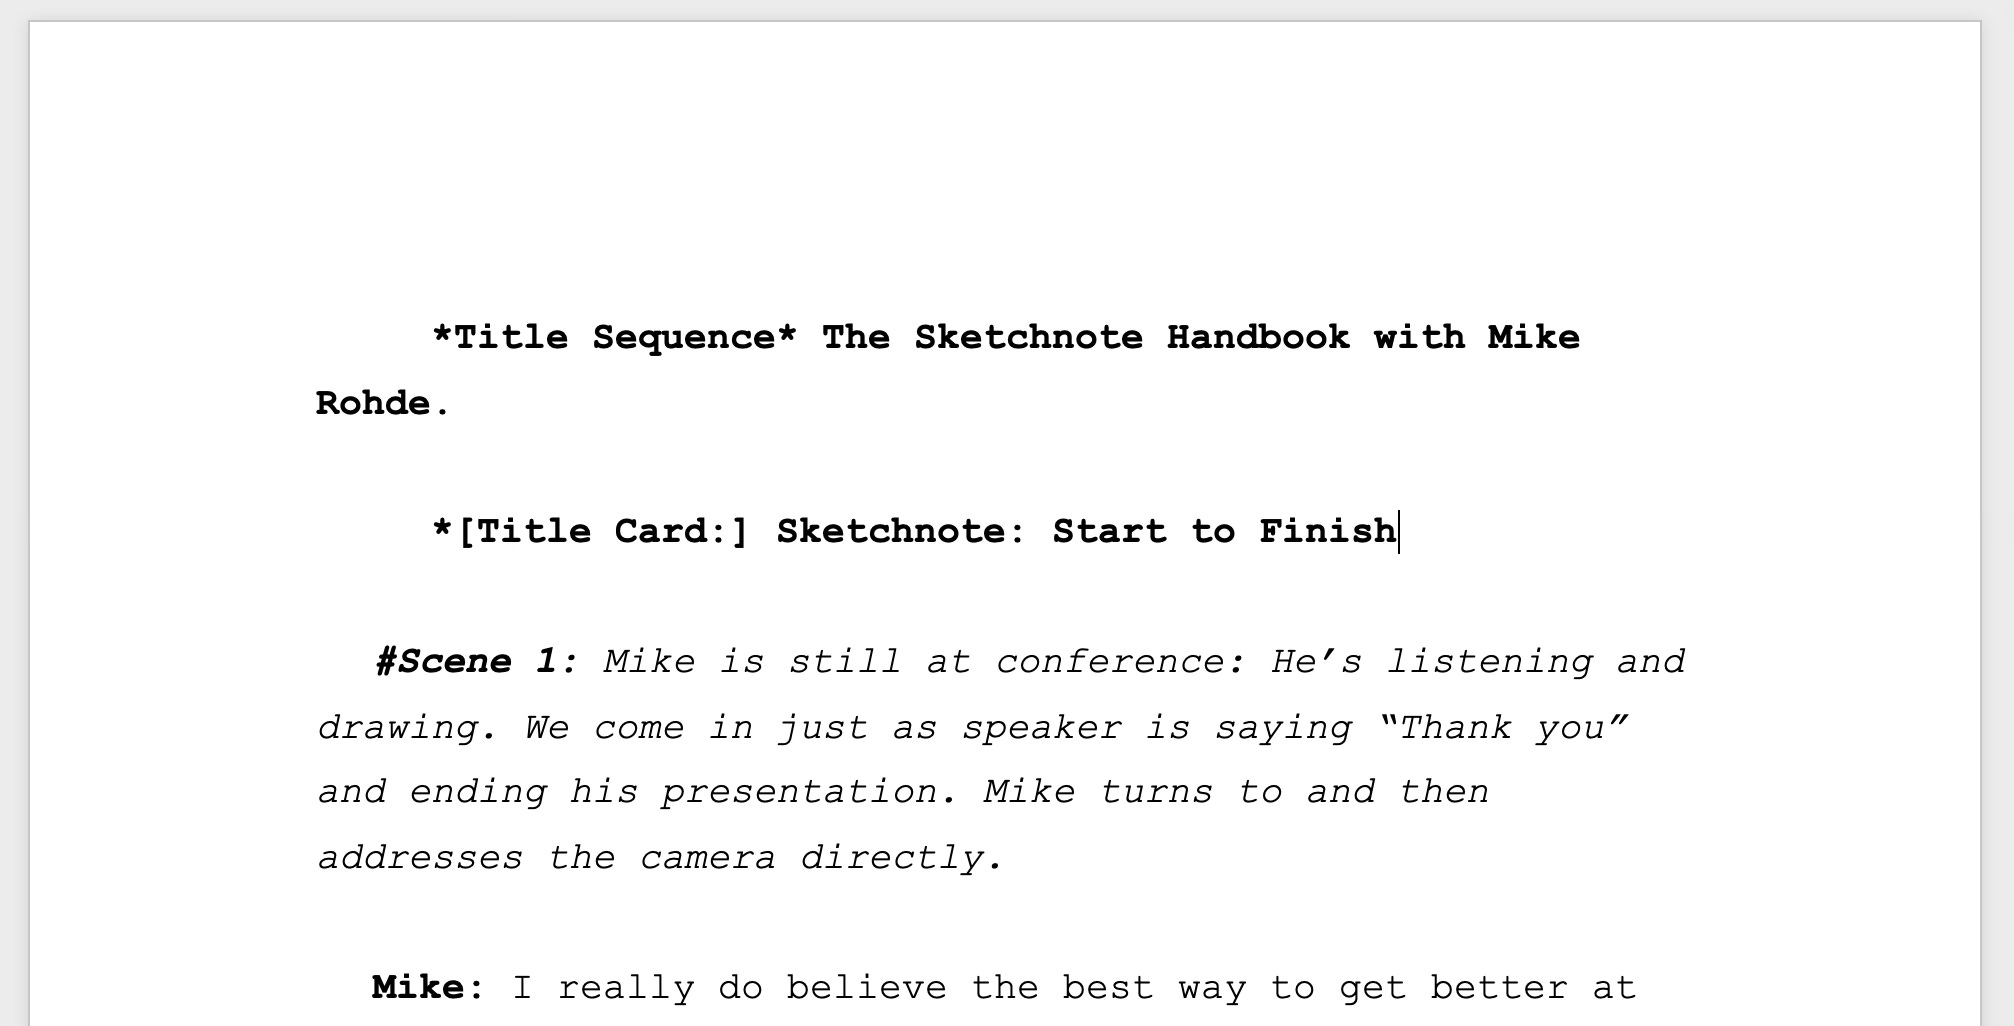
I hired another secret weapon, my friend Gabe Wollenburg, to convert the raw manuscripts into video scripts to make videos. It worked well because I could focus on the book creation while Gabe worked his magic on making video scripts.
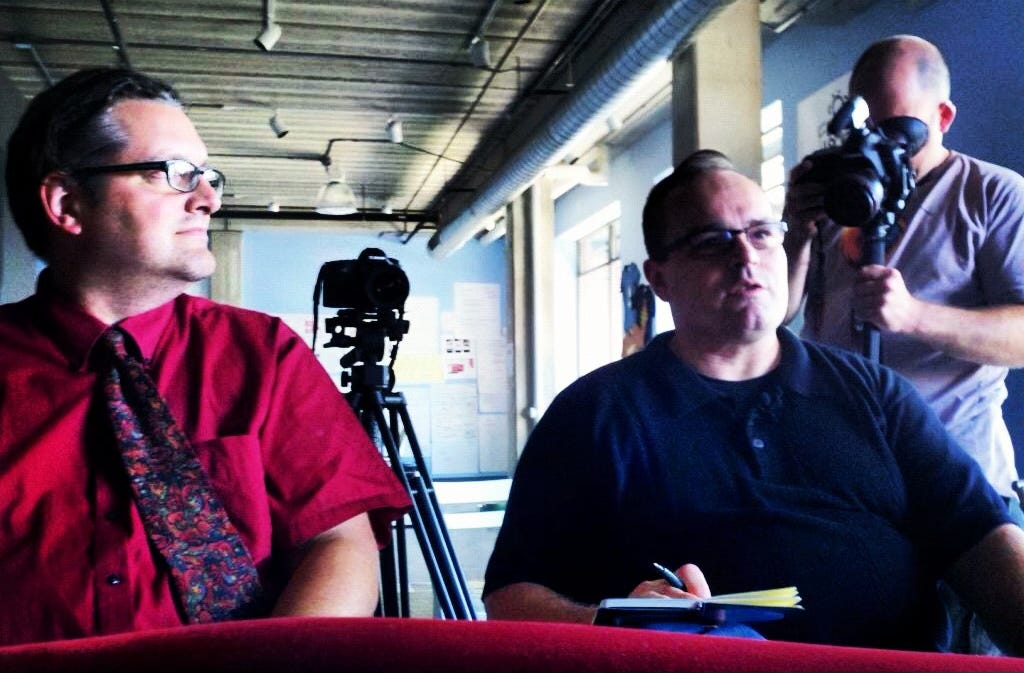
A speaker was needed to present while I sketchnoted, and I needed a location to shoot the video. My friend Jon Mueller agreed to give a short talk, and another friend, Mark Fairbanks, offered his sunny office space for the location.
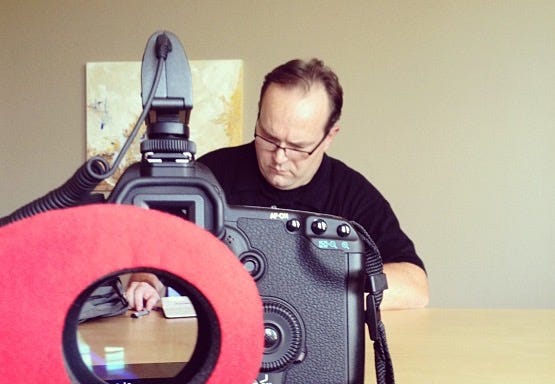
Brian used two cameras: one at the back of the room for Jon and the crowd and the other on a monopod he could move around to capture me creating the sketchnote.
We somehow managed to shoot the entire video in one take, which was unusual since I was still getting comfortable being on camera. Every other video we shot required multiple retakes to get right. I thought that was a good sign!
People loved the video!
This 9th video in the series is my favorite of the Handbook videos. Brian did a great job capturing the process as it unfolded naturally, in real-time, demonstrating what creating a sketchnote is actually like.
When the book and video were published, I received positive feedback on this video. Readers enjoyed seeing the entire process, end-to-end.
Here’s a summary of what many people said:
“I was surprised by how little you sketchnoted what Jon was saying. I could see you processing information without hurrying to draw or write until you had a solution ready to put on paper.”
“Seeing that process unfold was helpful for me as a beginner because I realized I don’t have to capture everything!”
The feedback from this video inspired me to make Live Lab video sessions and videos explaining my process a foundational part of Sketchnote Lab.
Demonstration is an effective way to communicate techniques in context with nuanced detail. I’m reminded that what I think of as standard techniques to do when I sketchnote may be transformative techniques for students who watch me work.
The video made the book better.
I wanted pages in The Sketchnote Handbook to match the video we’d created, showing how the sketchnote was made with detailed notes.
But when I created the sketchnote, I was so deep in the flow that I didn’t remember what I’d done or in what order. How would I develop pages to match the video?
The video was the solution. Brian shared a rough-cut video, which I used to reconstruct the order in which I created elements in the sketchnote. The footage revealed nuances that I could never have observed while sketchnoting live.
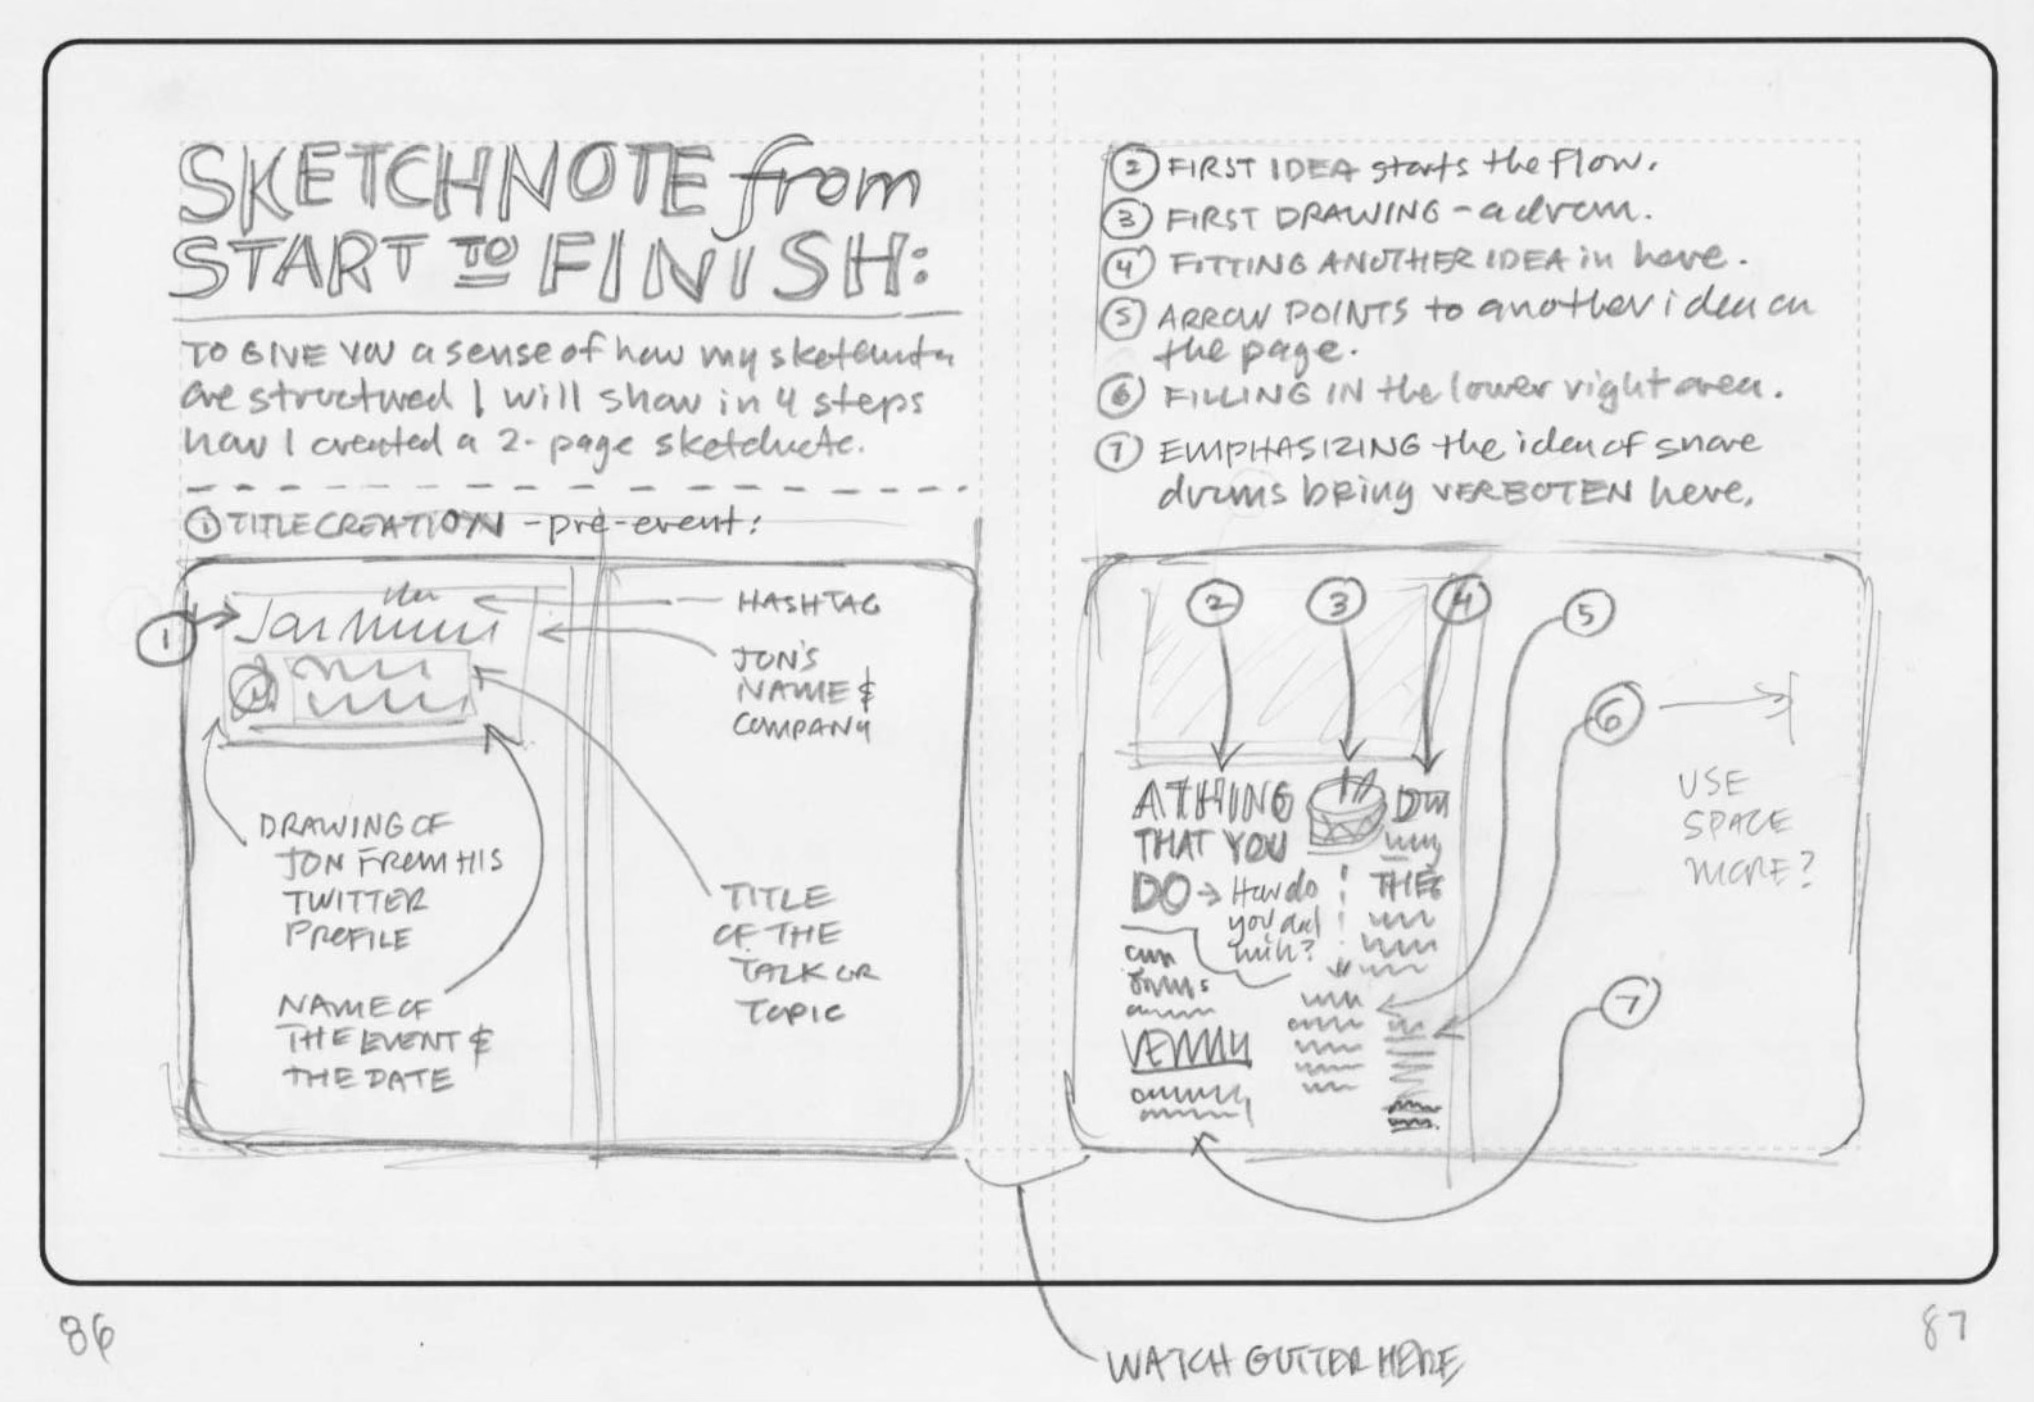
Here’s my early thumbnail sketch concept:
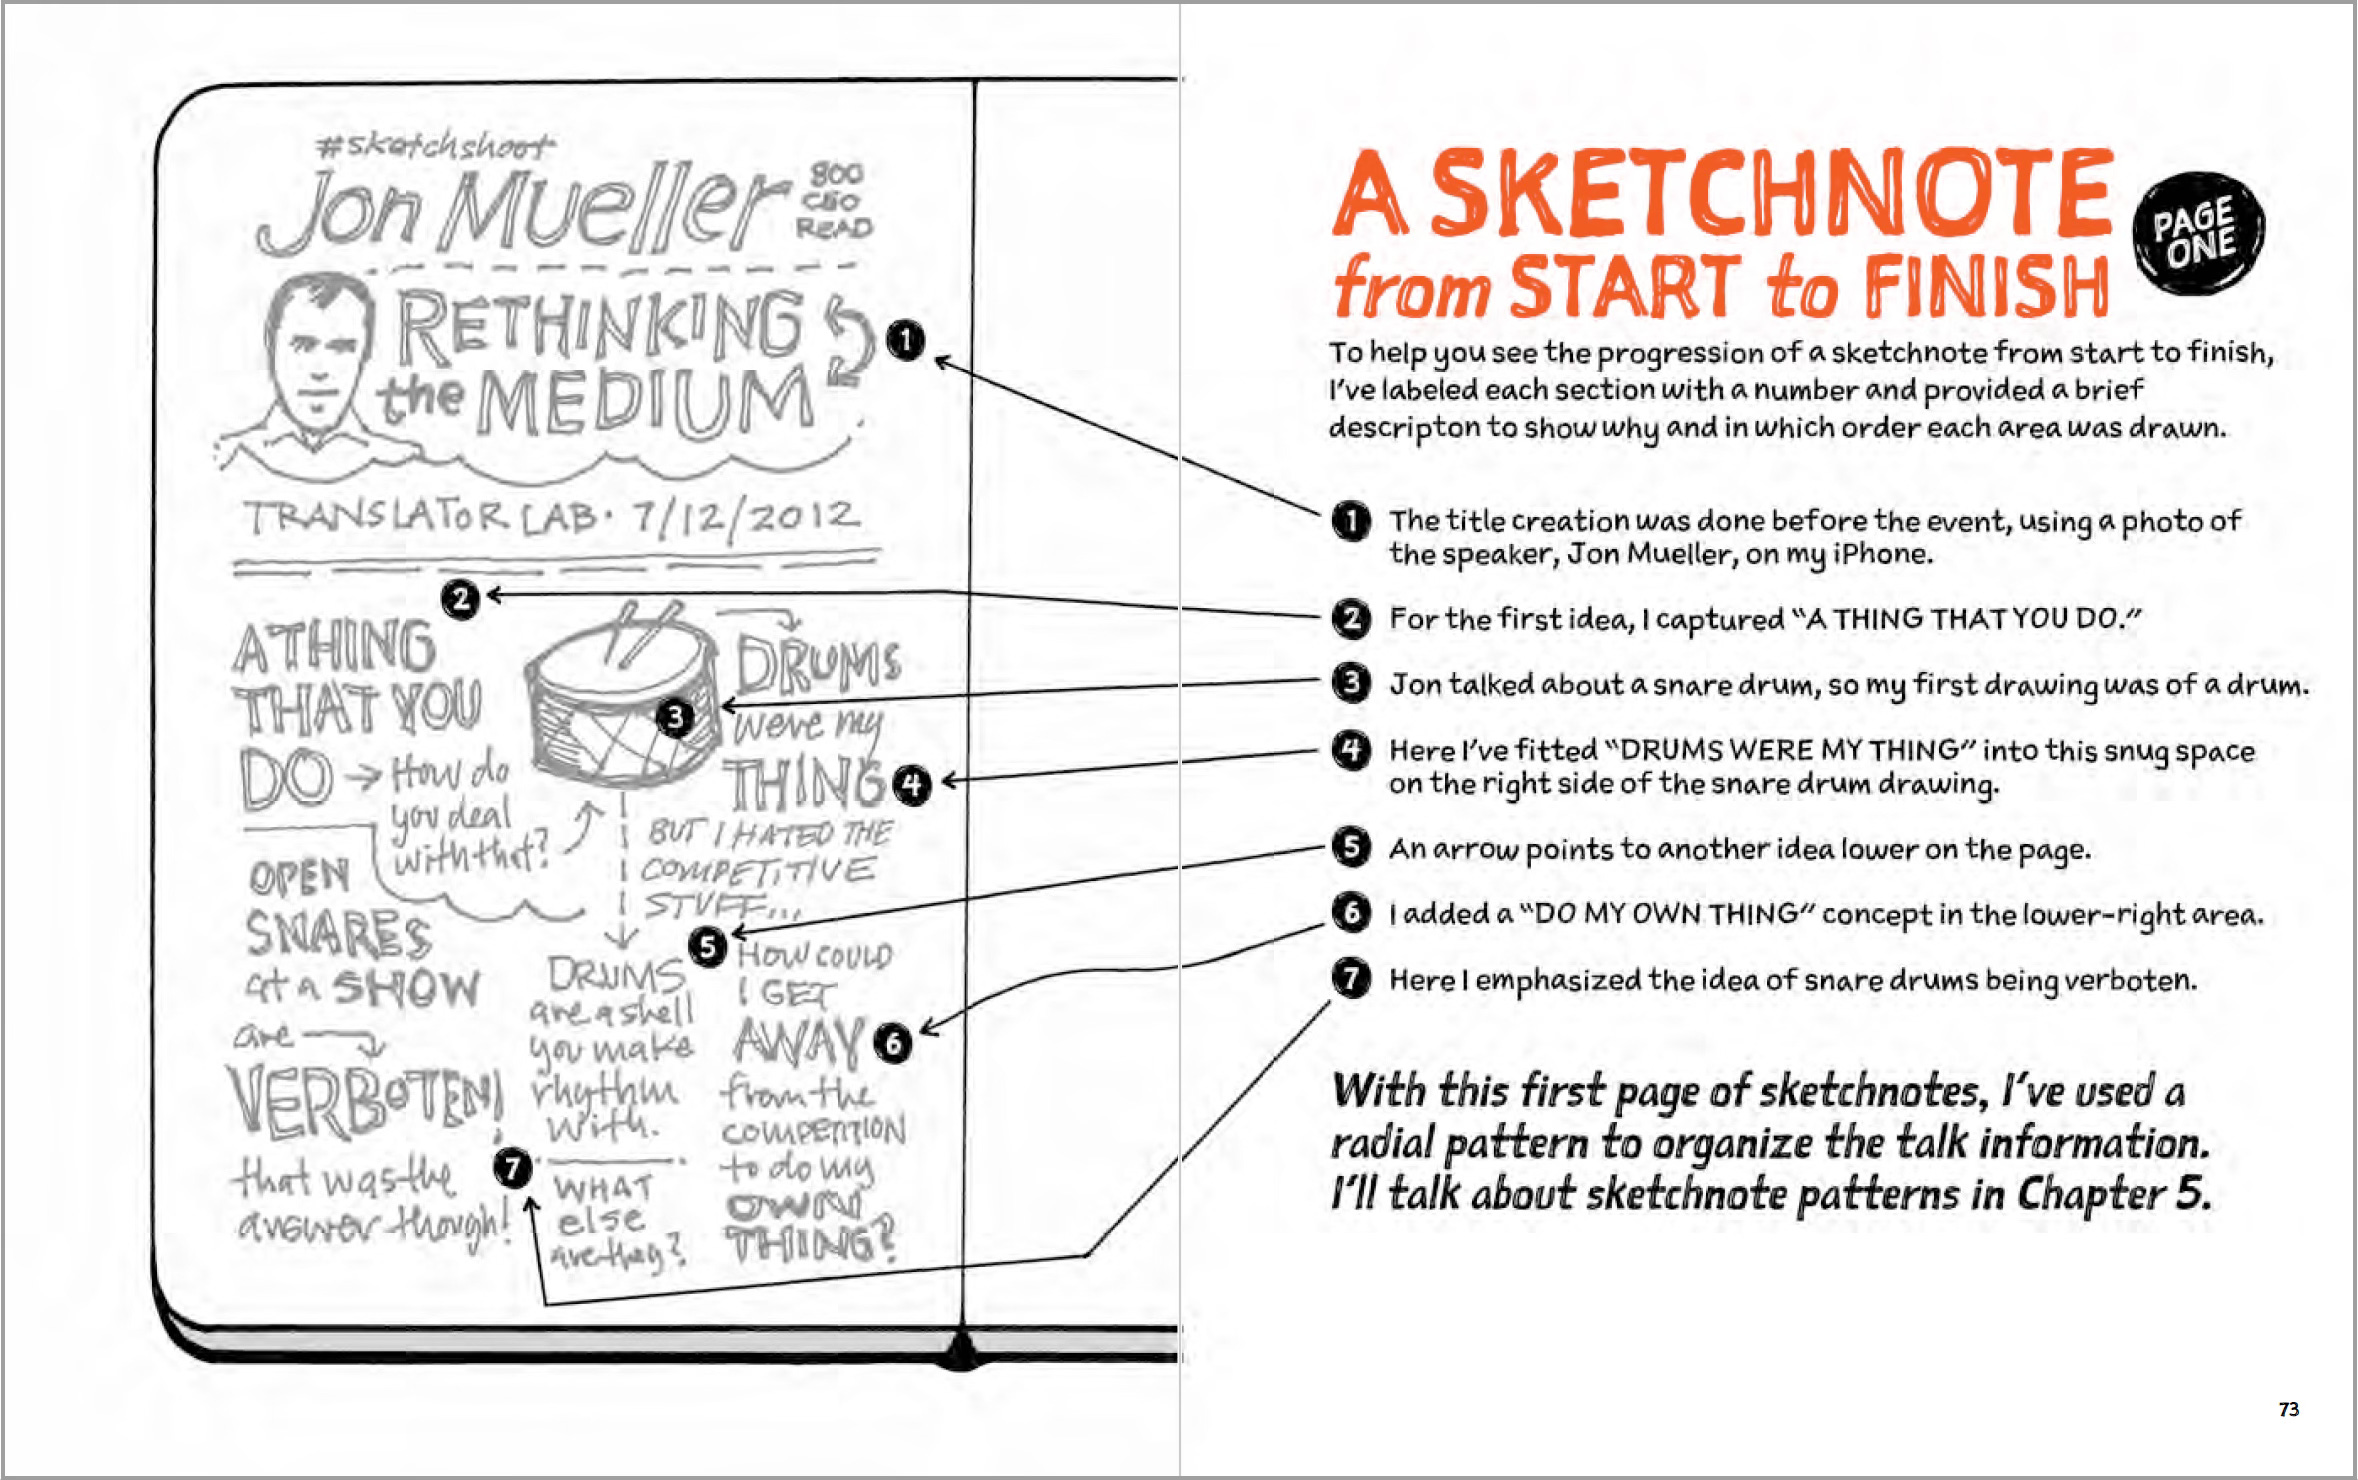
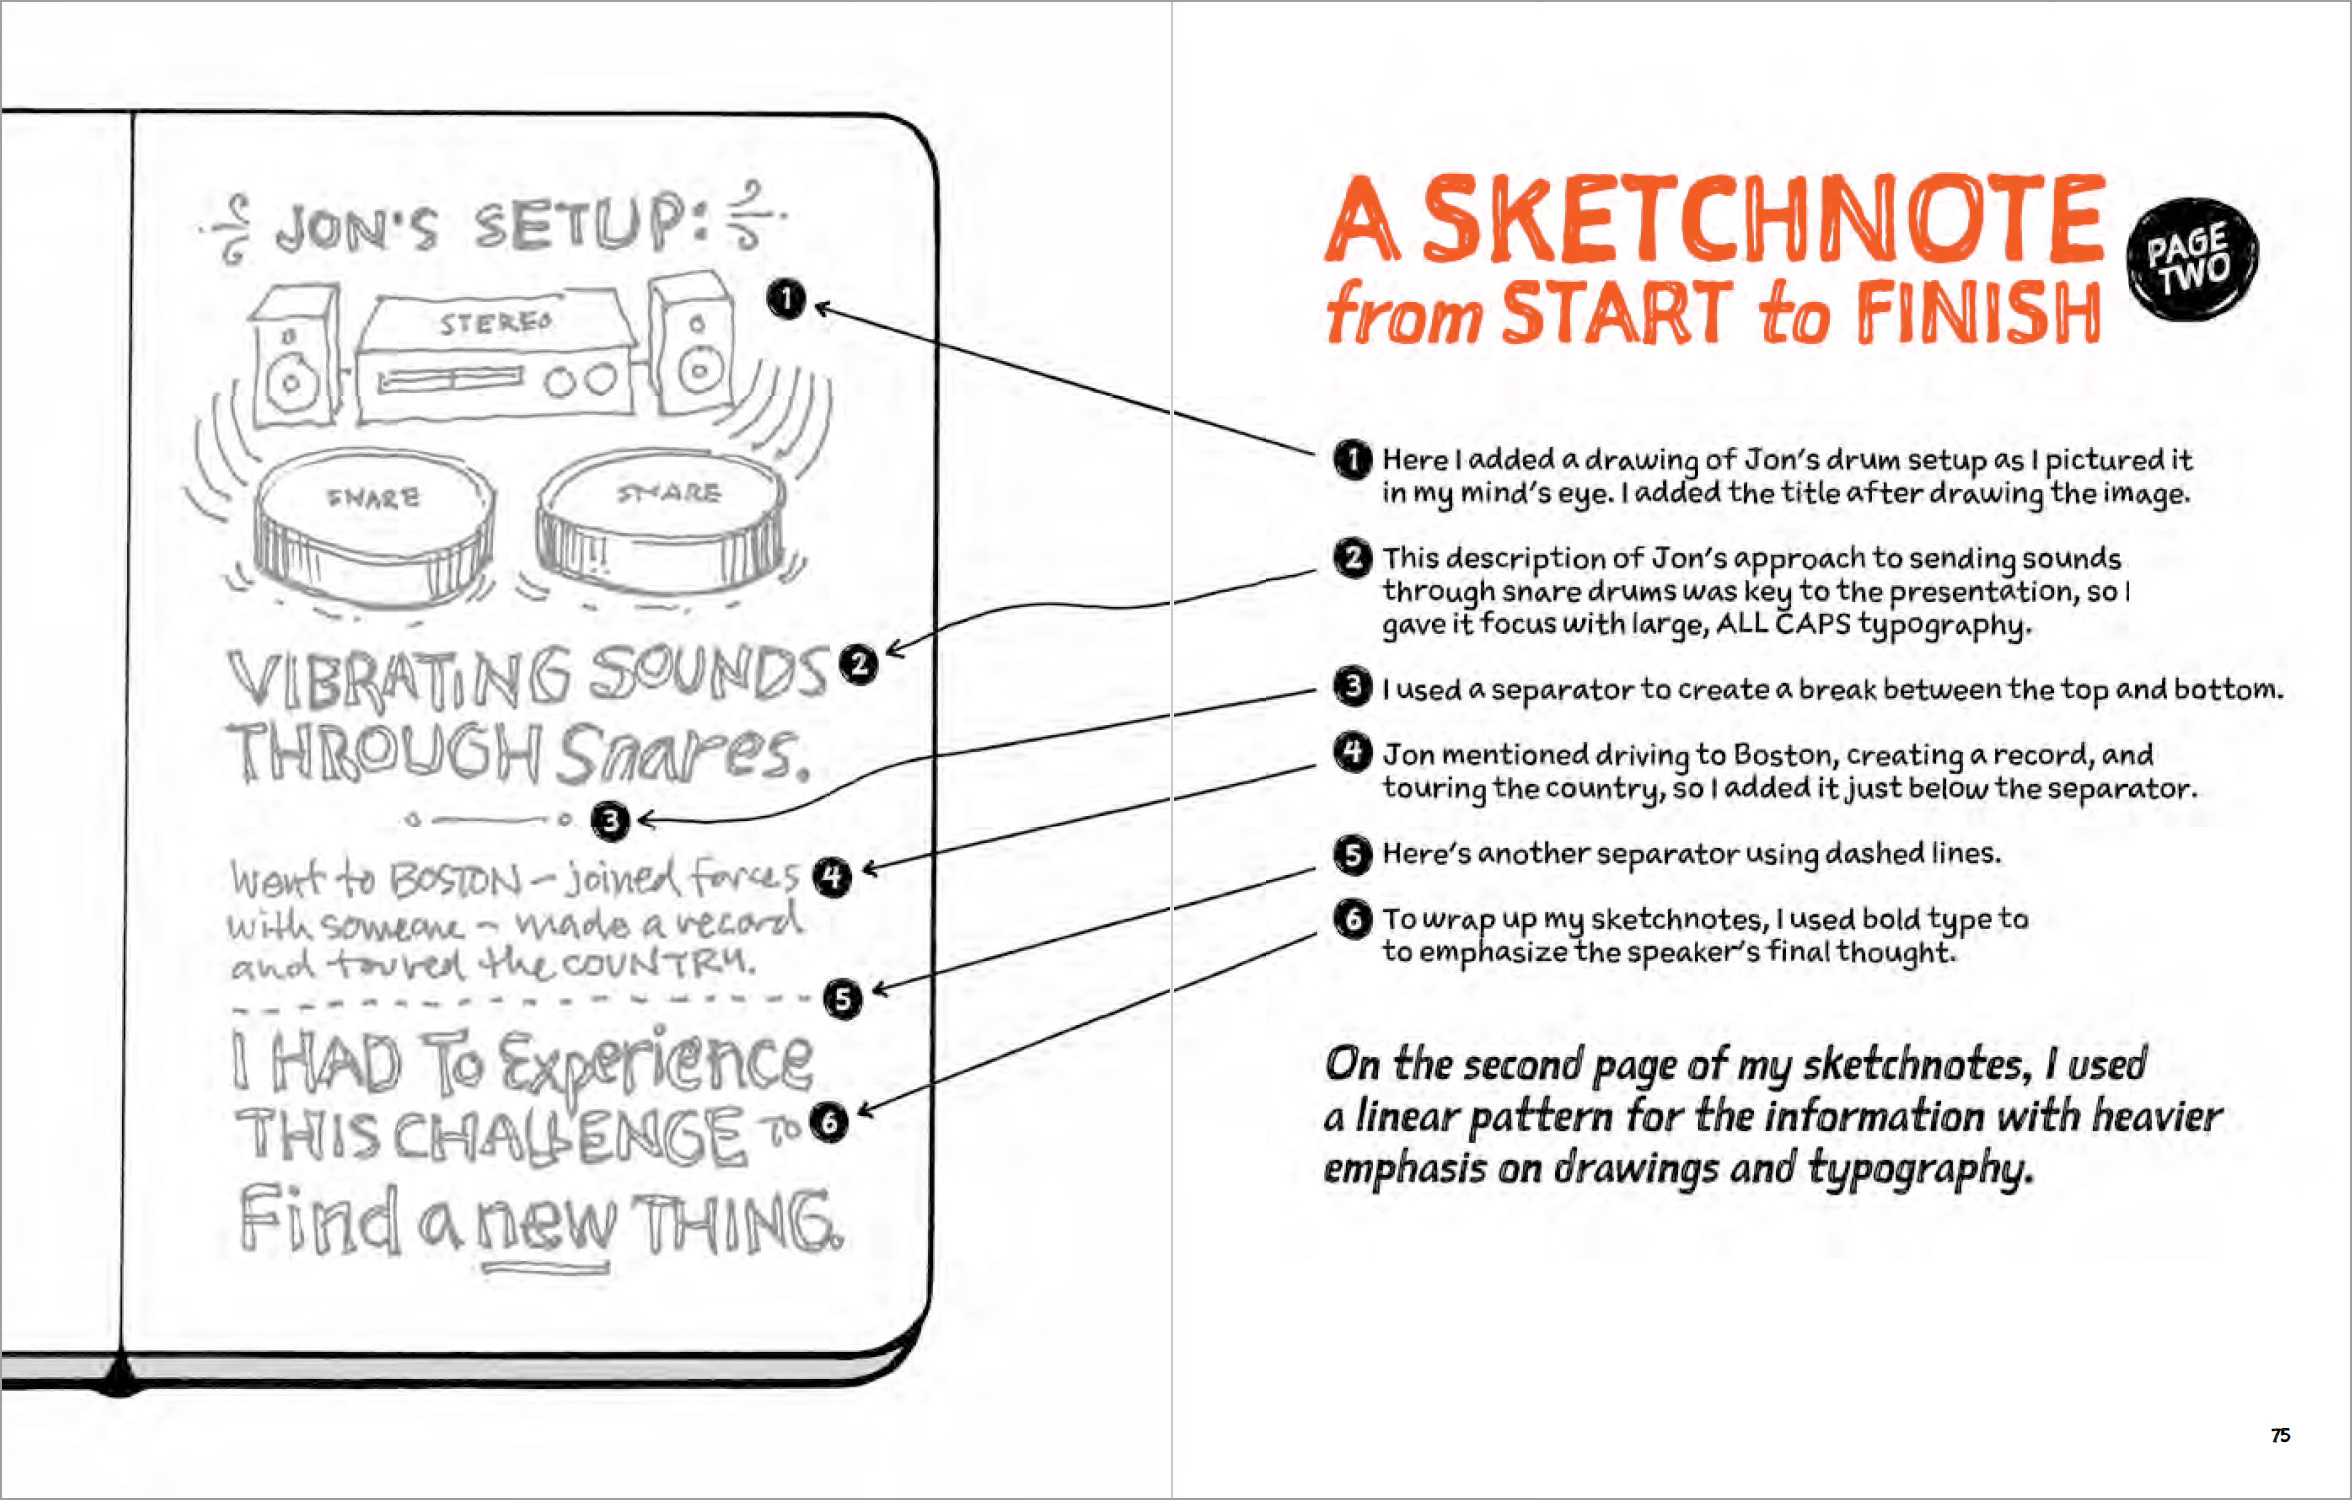
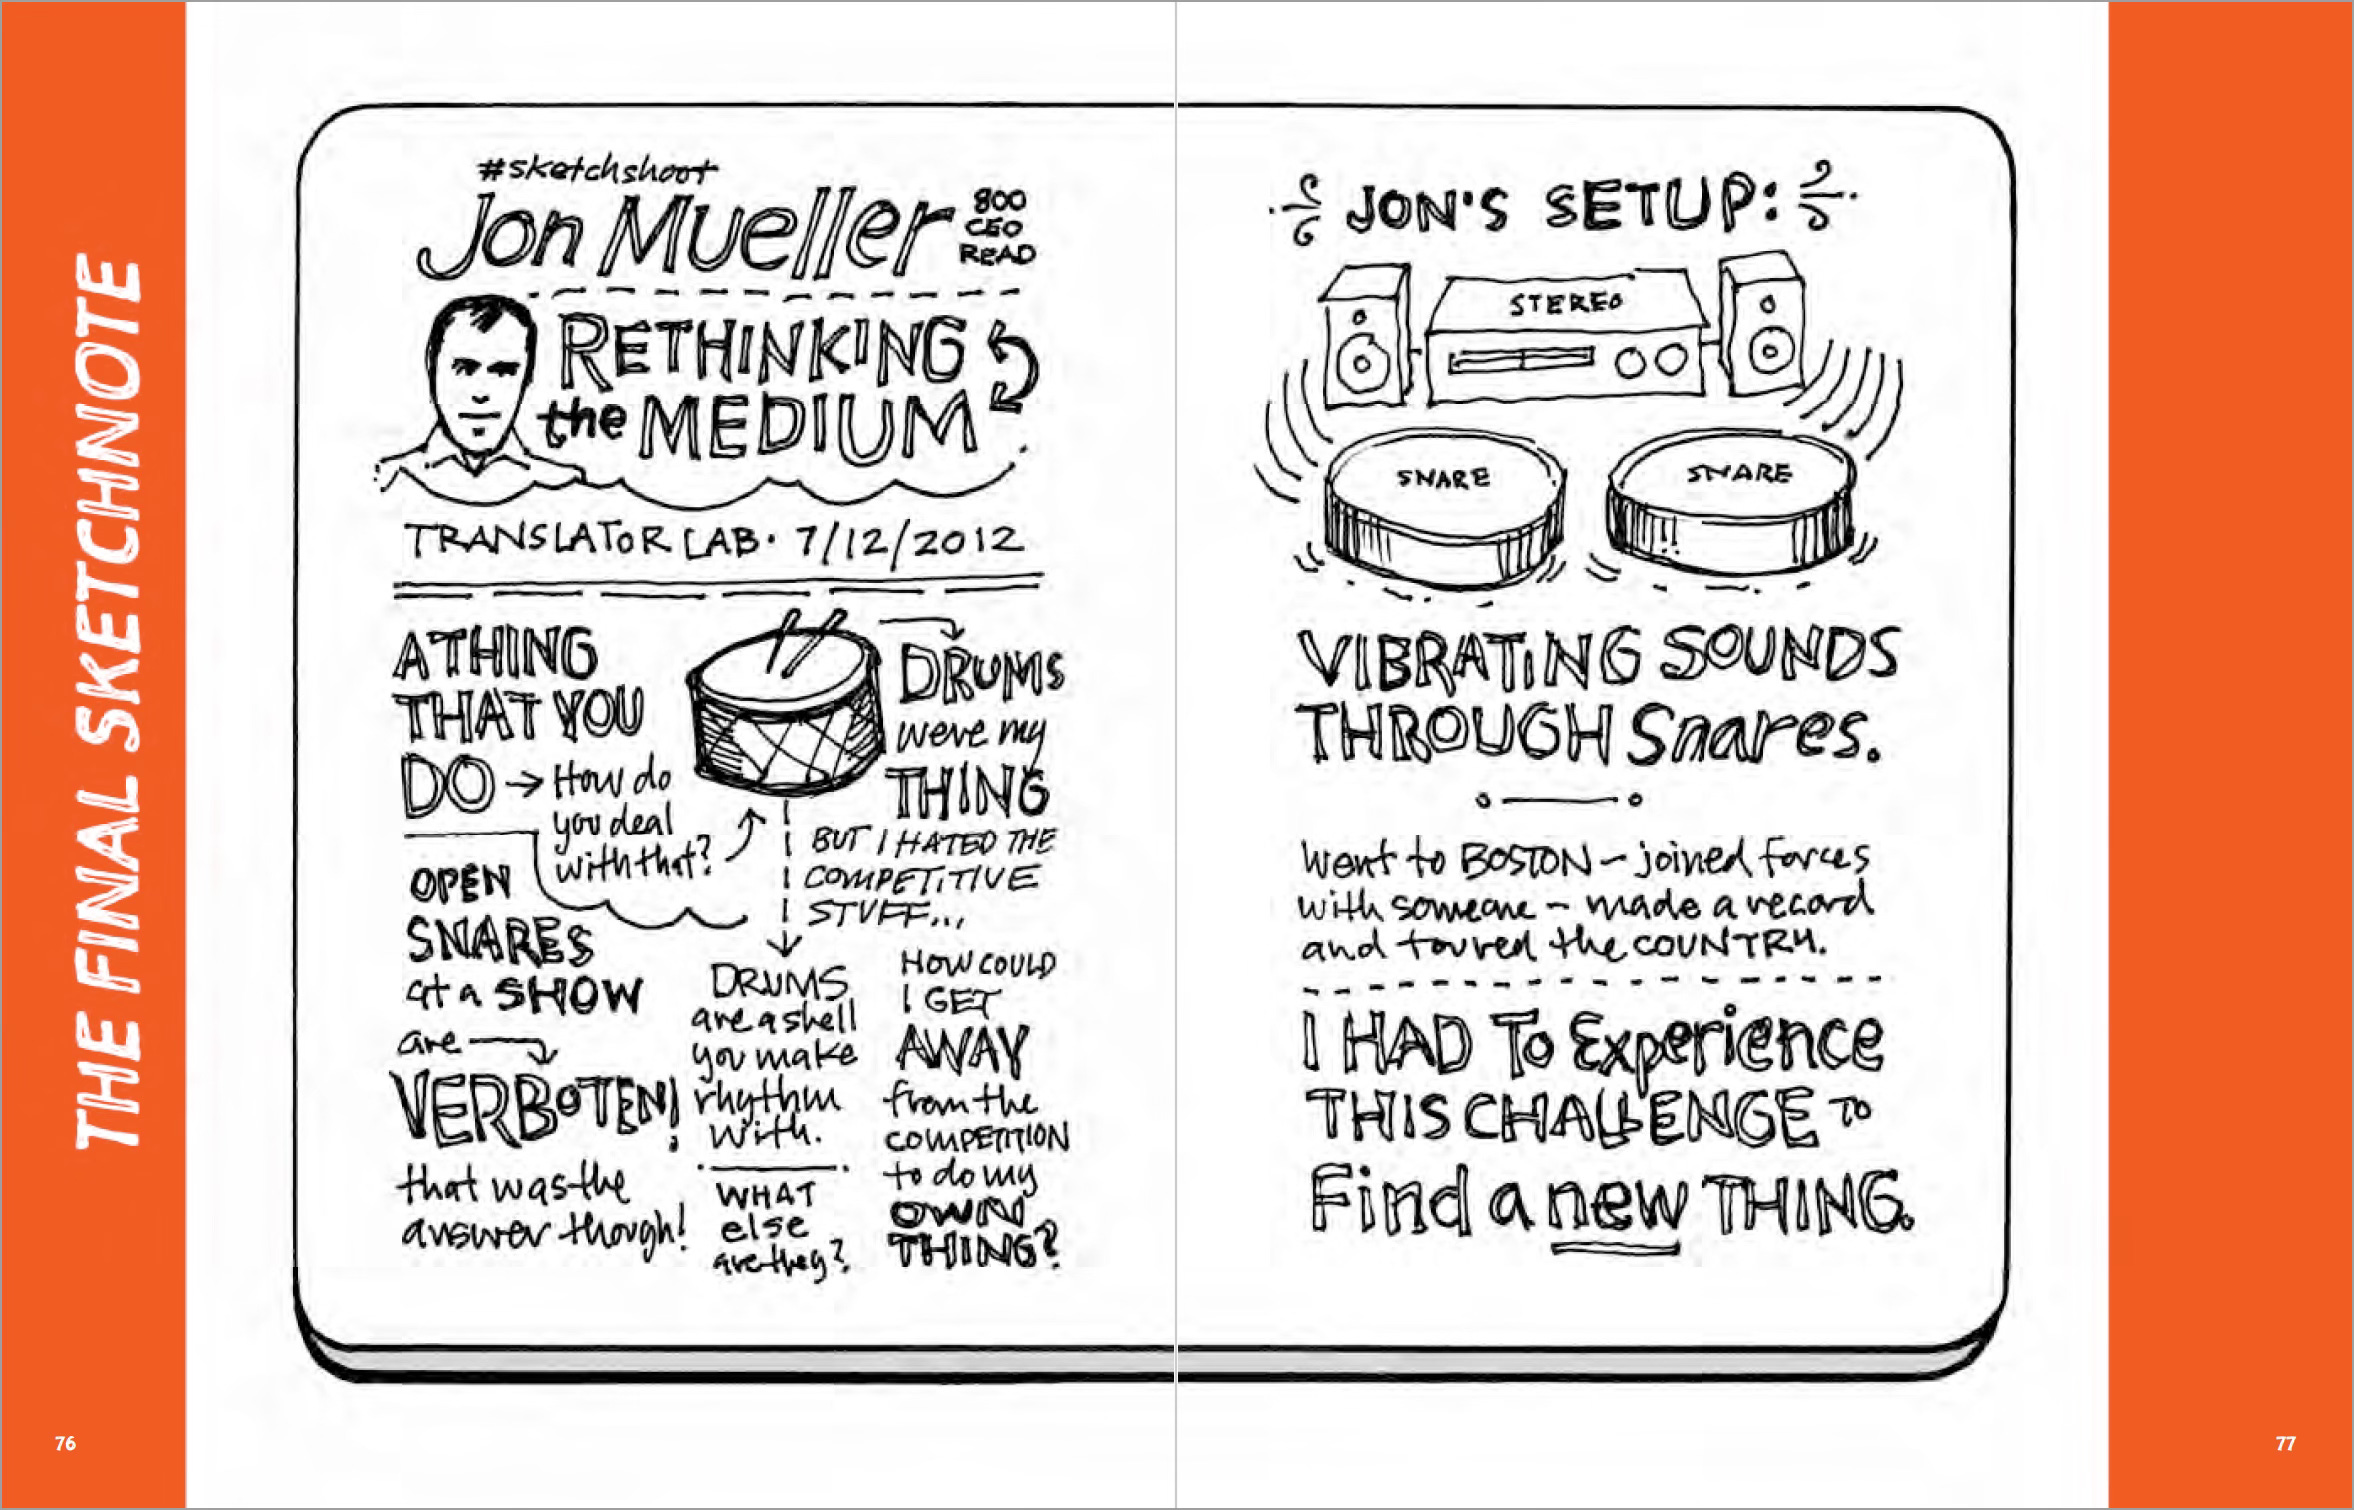
Here’s how the final book spreads turned out:
Takeaways:
Getting great people to help you on a project can elevate it significantly.
Demonstrating a process on video is a great way to teach techniques in context, which can be hard to describe verbally or with static images.
If you can’t recall the steps of your creation, record it with a video. Videos don’t lie, and they capture all of the details.
If you’re interested in a copy of The Sketchnote Handbook the book or the video, visit Peachpit.com and use code ROHDE40 for 40% off.
Thanks again for the chance to share something fun in your inbox!
— Mike

Sketchnote Lab is Mike Rohde’s space designed to bridge the gap between sketchnote theory and practice. The goal is to guide you in integrating sketchnoting into your everyday life. Learn more about Sketchnote Lab.
Mike is the author of The Sketchnote Handbook and The Sketchnote Workbook, bestselling books that teach regular people how to start and keep sketchnoting.
He is the founder of the Sketchnote Army and host of the Sketchnote Army Podcast, where he interviews visual thinkers to understand what makes them tick.
Mike offers recorded, live, and in-person workshops to help accelerate your sketchnoting practice and coaching for personalized, 1:1 sketchnoting guidance.
Become a paid Lab Member to support Mike’s work.
I just completed your second course, The Sketchnote Workbook, and received your email about how this course came to life. It feels like the universe is sending me a sign that I’m on the right path! I’m planning to use the Sketchnote style to create my own info products and make them truly unique. Truly, thank you for sharing your creation and for developing these incredible books and courses.
Twelve years ago! How time flies.
Thank you for continuing to share your insight and motivation with the sketchnote community.